0 item(s)
View cart
You have no items in your shopping cart.
When buying garage cabinets, it’s often the installation process that appears to be the most daunting aspect for many buyers. After all, not everyone has DIY skills, and if you’re not able-bodied, hiring an installation expert can be a costly additional expense.
With NewAge garage cabinets, there’s no need to worry about complicated home installation. As the models are welded during the manufacturing process to protect their structural integrity, the installation process is as simple as possible, with minimal work required upon arrival. In this quick guide, we’re going to go over everything you need to know about setting up NewAge garage cabinets, so you can get to using them as soon as they arrive. Let’s take a look!
Once your order has arrived, it’s time to start setting up your cabinets! As we already mentioned, the great thing about setting up NewAge cabinets is that they’re pre-assembled, so you don’t need to spend hours poring over the instruction manua (although we do still recommend reading it!)
Although instructions may vary slightly from model to model, here’s how we recommend setting up your NewAge cabinets in the simplest way possible:
As NewAge products can be incredibly heavy (up to 500 lbs), it’s a good idea for two able-bodied people to handle the moving of your items from the curbside into your garage or home. Although Garage Giant handles delivery, the delivery drivers are not Garage Giant employees, and are therefore not obliged to help move your order into your garage. A dolly or similar wheeled device would be helpful for transporting heavier items from the side of the road. Once they’re inside, lay them on a flat surface where they don’t risk falling or being damaged.
Before setting up your cabinets, you’ll first want to ensure that the area around the installation point is clear of any debris, leaves, or items that might get in the way of the installation. Ideally, you’ll want to clean your garage the day of your order’s arrival; this way, no further debris will accumulate overnight, and the area will be ready for installation as soon as your delivery arrives.
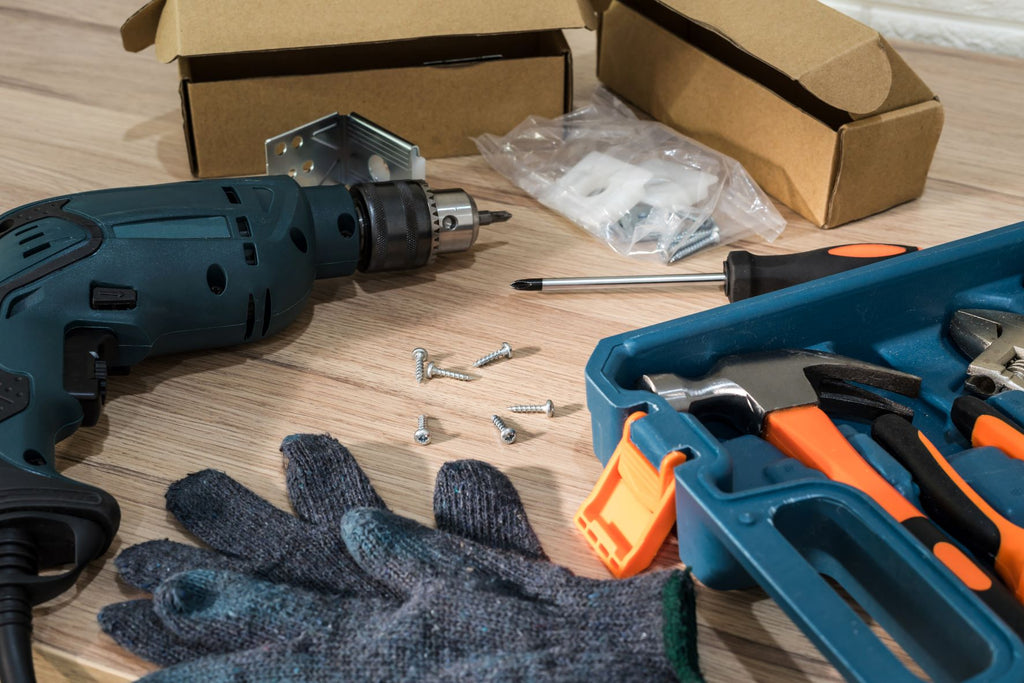
Before beginning installation, you’ll also want to check the manufacturer’s instructions to ensure that all necessary hardware items are present. If any items are missing, send us a message at support@garagegiantusa.com, or call us toll-free on 844 344 9868 for support. Do note that depending on the chosen model, you might find some extra hardware items included in your order to help facilitate installation.
Once you’ve verified that all items are included, gather any other tools you may need and measure the area in your garage to ensure the cabinets will fit comfortably. Using a leveler, check the garage floor - NewAge cabinets can support up to 2 inches of height variance end-to-end, although make sure to begin on the high point if you’re installing on a sloped surface.
With the help of another able-bodied person, move the first cabinet into place, ensuring the cabinet is flush against the wall behind it. Don’t screw the cabinets into place yet, as you still may need to make small adjustments when all cabinets are in place. Position all your cabinets into place, again ensuring that all are flush - you can adjust the leveling legs if necessary to achieve this.
If your chosen model comes with a worktop or floating wall cabinets, position these next. For floating wall cabinets, you’ll need to install these as you go, using the mounting bracket that will be included with your order.
Before screwing your cabinets into place, check that all cabinets are level, and that all doors are functional - you can adjust the hinges if necessary. Once you’re sure that all cabinets are level, you can begin to screw your cabinets into the studs, before finishing up by installing the lockers. You can then add optional features, such as LED lights.
TIP: Do note that the above advice is general, and we always recommend that you consult your installation manual first before beginning the set-up of your cabinets. Depending on your chosen model, there may be additional installation steps or tools required.
One of the main advantages of opting for NewAge cabinets is that they arrive ready-assembled and ready to install. While this can mean a higher freight delivery price than something flat-packed, all NewAge cabinets are packed and shipped in the most compact way possible, with smaller items nestled inside lockers and larger cabinets to keep down costs.
When it comes to quality and ease of installation, brand competitors such as ulti-mate offer the same extensive storage space, but arrive flat-packed and need to be assembled before installation. That being said, assembling ulti-mate cabinets is simple, and can be done by anyone with basic DIY knowledge and skills.
In most cases, there’s no need to hire a professional installation expert for NewAge cabinets. However, as mentioned above, their items can weigh up to 500lbs, depending on your chosen model. If you’re not able bodied, and you’re unable to enlist the help of a family member or friend to perform the installation for you, a professional installation may be the safer option.