0 item(s)
View cart
You have no items in your shopping cart.
Installing garage tiles can be a bit of a pain - but with Swisstrax, you can install a fully-functional garage floor in just a few hours. Not only is Swisstrax flooring easy to install, but it’s also highly weight-resistant, durable, and non-slip thanks to the UV stabilizers used during manufacturing.
USA-made with Swiss innovation, Swisstrax is one of the most popular flooring brands for American garages, but how do you install Swisstrax tiles? In this blog, we’re going to give you a simple 7-step guide on installing your tiles, so you can get the job done as seamlessly and easily as possible. Let’s get started!
Before you begin installing your tiles, you’re going to want to make sure that the floor is completely free of any debris, as this could impede the installation process. For a quick clean, you could use a leaf blower, or a traditional vacuum cleaner. You’ll also want to move any objects that may get in the way of your installation, such as toolboxes, portable cupboards, workbenches, etc.
Now, you need to choose a starting point to install your tiles. It’s recommended that you have a printed or physical copy of your design in front of you, which will make it easier for you during the installation process.
We’d recommend beginning at the top left corner in your garage, with you facing the garage door. Don’t forget that you’ll need to leave a small gap at the walls or around fixed objects - you should leave one quarter of an inch for Ribtrax and Ribtrax Smooth tiles, and half an inch for all other tiles. If there are lots of obstructive objects in the top left corner, you can instead begin in the top right corner.
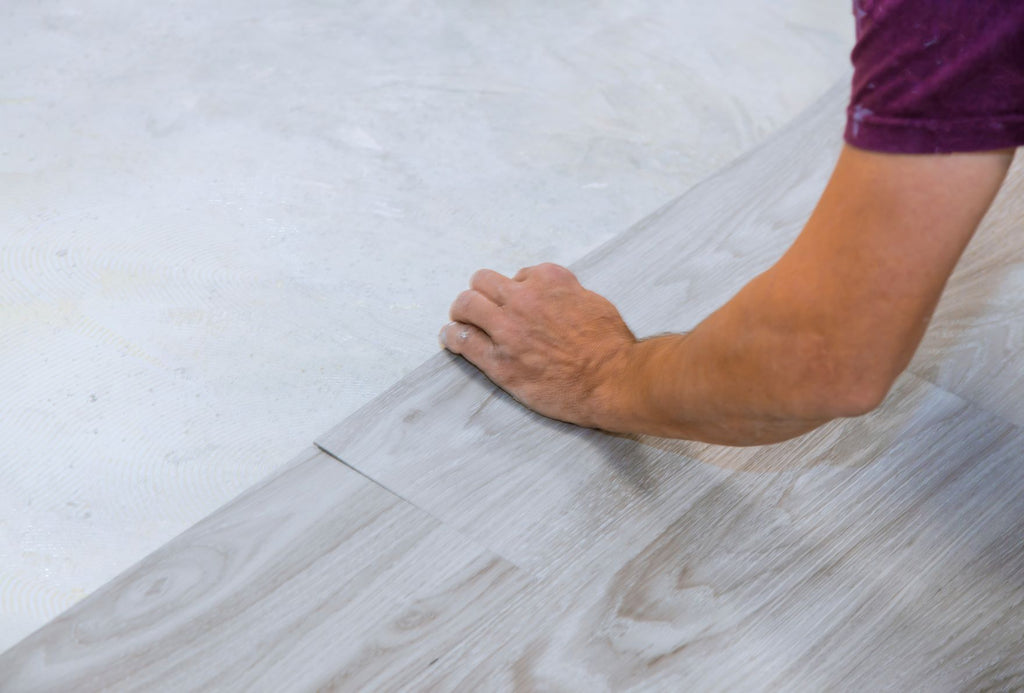
Now that you have a starting point, you can begin by laying the first tile. Make sure to familiarize yourself with the “male” and “female” edges of the tiles, as this is important when it comes to interlocking the flooring correctly. “Male” edges are pegged, while “female” edges are looped. When laying the first tile, the male sides should face the left wall and your garage entrance.
Lay your tiles from left to right, interlocking each as you go. Take care to ensure that the pegs and loops are all facing the same direction, and don’t forget the space needed between the wall and the floor. Continue working left to right until you’ve installed the first three complete rows.
Once your first three rows are complete and reach the wall of the garage, you can now install the tile edges at the row of tiles nearest to the entrance of your garage. If you’re attaching edges to the female side, you can do so by lifting the edge of the tile up, ensuring it’s aligned with the male pegs, and snapping it into position. If you’re working with the male side, the same principle applies.
Then, apply some pressure to the edge of the tile to ensure it’s fitted correctly - if you don’t hear a snapping noise, it’s not attached. Once you do hear the snapping sound, your edges should be fully interlocked.
After installing the edges, you’re going to want to close your garage door, before pushing the Swisstrax tiles forward until they’re touching the garage door. This step works best if two people push at the same time, to ensure optimal alignment. Inspect the floor to see if you need to cut or adjust the tiles at the garage entrance.
As all garage dimensions are different, you may need to further cut or adjust your tiles to fit your garage floor correctly. You can use a fine-toothed blade or a saw to do this, but do make sure to regularly inspect the floor’s alignment as you do so. All Swisstrax tiles can be cut safely, and Swisstrax recommends using a blade over a saw for optimal precision.