0 item(s)
View cart
You have no items in your shopping cart.
The dimensions of your garage floor are likely unique - that’s why you’ll sometimes be required to cut your garage floor tiles so that they align perfectly with the dimensions of your floor, without overlapping or obstructing any entrance. But how do you cut a garage floor tile correctly? In this quick guide, we’re going to go over the easiest and simplest ways to cut a garage tile at home, using both simple and some more complicated tools. Let’s get started!
Yes! Interlocking flooring is one of the most popular choices when it comes to garage floors - not only are they easy to install and maintain, but most can be cut and fitted to mold perfectly with the dimensions of your garage. That said, you will want to ensure that your chosen brand allows for cutting and adjusting - flooring brand Swisstrax offers adjustable interlocking tiles, all of which can be cut at home using basic DIY tools.
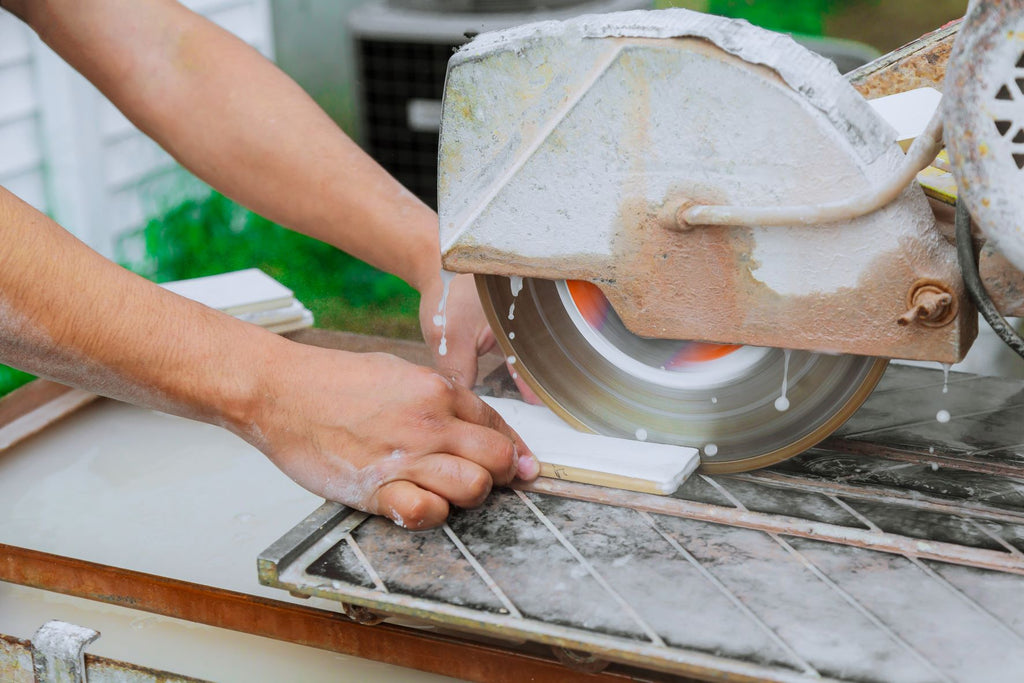
To cut a garage tile, you can use a saw, such as a table saw, jig saw, or circular saw. For precise results, we’d recommend using a fine-toothed blade for cutting floor tiles - this will minimize the need for filing afterwards.
Other tools that might be helpful include a permanent marker (for marking where you’re going to be cutting), a measuring tape, and a metal t-square.
You should also take certain safety measures when cutting garage tiles at home. We’d recommend equipping yourself with safety goggles to protect your eyes, gloves to protect your hands, and a sturdy worktop to cut the tiles on. And don’t forget about non-slip flooring - do NOT cut tiles while standing on other tiles that are yet to be interlocked - this could pose a slip hazard.
It’s also a good idea to protect your ears while using the saw, so wearing a pair of earmuffs can be helpful. Garage tiles made with polypropylene (like Swisstrax tiles) won’t produce a lot of particles during the cutting process, so a face mask shouldn’t typically be necessary - but you’re free to wear one if you wish.
For accurate and precise results, it’s always a good idea to measure where you want to cut your tile before getting started. You can use a measuring tape and a permanent marker for this, and check your measurements using a metal T-square. If your garage tile has channeled features for draining, it might be slightly more difficult to mark your cutting point clearly on the underside of the title. In this case, you can use a marker on the top of the tile instead.
When measuring, you’re going to want to take into account any corners, edges, and uneven surfaces that may necessitate adjusting your tiles as necessary. Don’t forget that interlocking tiles come with pegs and loops for easy installation, so you’ll want to ensure you cut the right side - this will ensure that your flooring is uniform in pattern.
Equip your safety equipment and place your tile on a solid, safe worktop. Taking care to follow your markings, cut the tile using your preferred saw, keeping a light pressure and focusing on maintaining the line you already marked. Make sure to adhere to the safety precautions in your saw’s safety manual.
If you’re using a fine-toothed blade, your tiles should cut more or less precisely, minimizing the need for any finishing touches or filing afterwards. If you do notice any pieces of plastic or debris that stick out, you can cut these off safely using a sharp DIY knife on the same work surface you used to cut your tiles.
Once you’ve finished cutting, you’ll want to check that the cut tile matches up with the measurements you took earlier on. The easiest way to do this is by returning to your installation and placing the garage tile in its intended position. If it’s too small or too large to fit into its intended space, you’ll need to retake your measurements or re-cut a new tile.
And there you have it! As always, take care to read the safety instructions of your cutting saw thoroughly, and always wear adequate safety equipment when cutting tiles at home.